Watch the corresponding video tutorial here How to Allow Users to Submit WooCommerce Products from the Frontend with Frontend Admin Pro and Elementor – Video
DynamiApps is excited to bring you Frontend Admin Pro, a WordPress plugin that empowers your users to submit and manage content directly from the frontend. In this guide, we’ll show you how to enable users to submit WooCommerce products using the Add Product Form widget in Elementor.
What You’ll Need
Frontend Admin PRO: https://www.dynamiapps.com/frontend-admin/
Elementor PRO (affiliate link): https://be.elementor.com/visit/?bta=5626&brand=elementor
WooCommerce: https://wordpress.org/plugins/woocommerce/
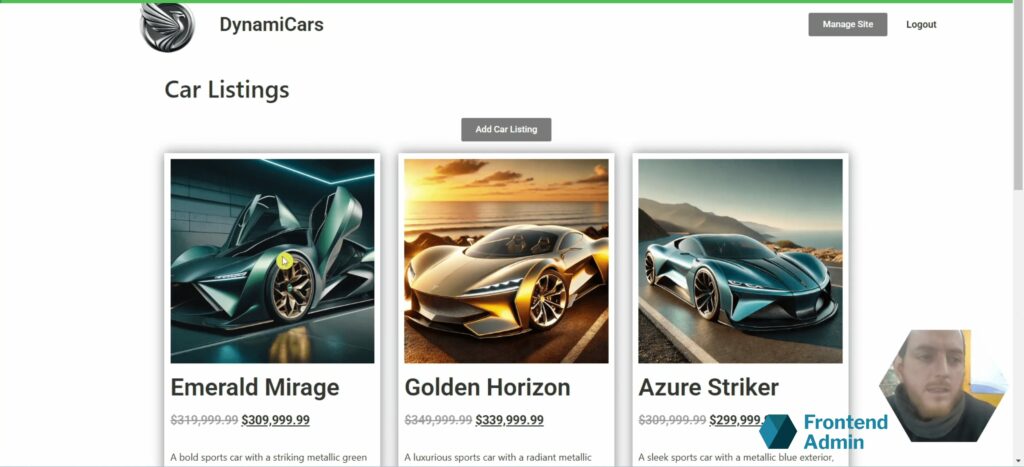
Example Use Case: Car Listings Website
Running an online marketplace or directory, such as a car listings website, requires allowing users to submit their own content. With Frontend Admin Pro, you can seamlessly integrate this functionality into your site. For example:
- Users can click on Add Listing on a designated page.
- They’re directed to a form to enter relevant details, such as a title, description, price, and images.
- Upon submission, the listing is instantly displayed on your website’s product page or directory.
This guide will walk you through setting up a similar feature for your own site.
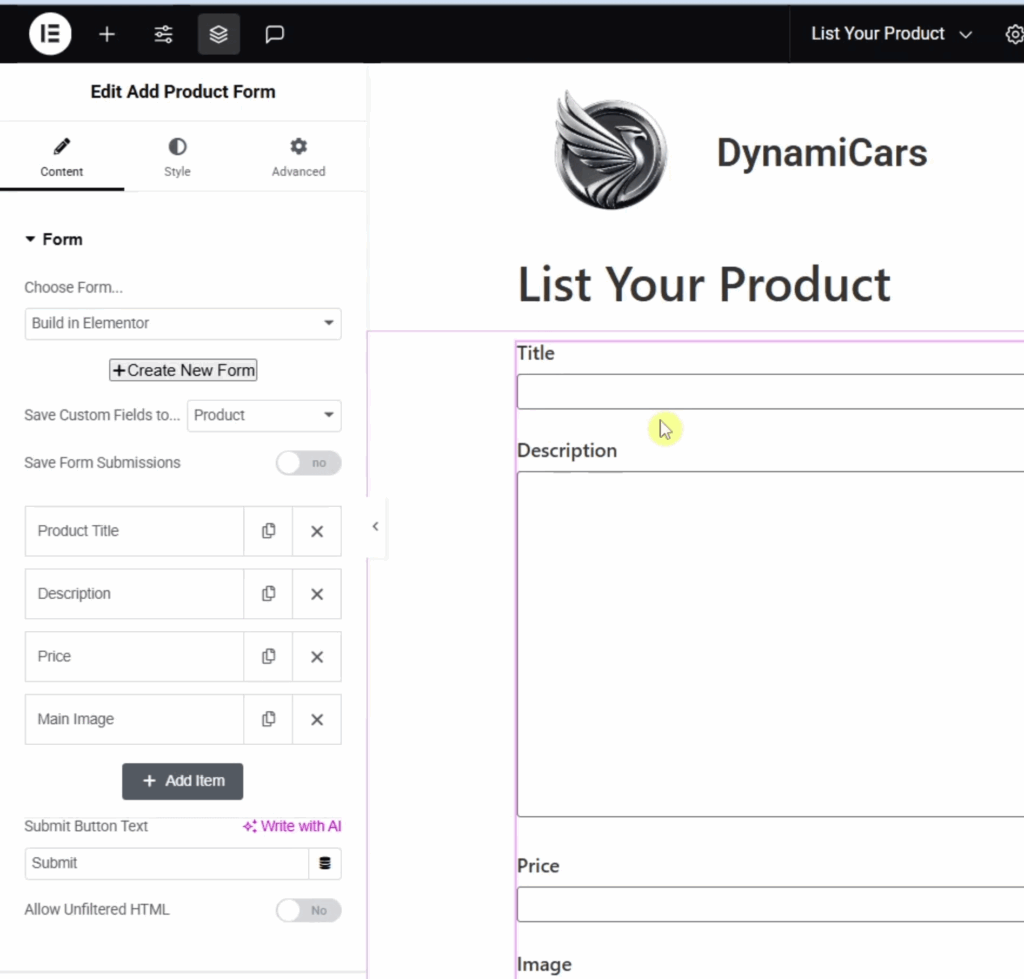
Setting Up the Add Product Form
- Log in as an Administrator: Ensure you’re logged in to your WordPress admin account.
- Create a New Page: Start with a blank page built using Elementor.
- Add the Widget:
- Open the Elementor editor.
- Search for Add Product in the widget search bar.
- Drag the Add Product Form widget into your page.
Congratulations! You now have a basic, functional Add Product form.
Customizing the Form
The default form includes basic fields, but you can tailor it to your needs. Here’s how:
Adding a Short Description Field
- Duplicate the existing Description field.
- Change the field type to Short Description.
- Update the label to “Short Description.”
Adding a Sale Price Field
- Duplicate the Price field.
- Change the field type to Sale Price.
- Update the label to “Sale Price.”
Enabling Stock Management
- Add the Manage Stock field from the product inventory options.
- This provides a toggle for users to enable stock management.
- Add a Stock Quantity field.
- This will appear only if the Manage Stock toggle is enabled.
Final Form Configuration
After customization, your form should include:
- Title
- Description
- Short Description
- Price
- Sale Price (for when you want to show a discount)
- Image Upload
- Manage Stock toggle with Stock Quantity options
- Submit button
Publish your changes and preview the form to ensure everything works as expected.
Configuring Permissions
By default, only administrators can see the form. To allow other user roles:
- Open the form settings and go to the Content tab.
- Scroll to Permissions and add a new rule:
- Name the rule (e.g., “All Merchants”).
- Apply it to users with the Author role.
- Save the settings.
This allows authors and administrators to access and use the form. You can also restrict access by WordPress or WooCommerce capabilities.
Setting Up Redirects
Enhance the user experience by configuring form redirects:
- Go to the Actions settings.
- Change the redirect action to Custom URL.
- Enter the URL of your car listings page.
- Add a success message for successful submissions and an error message for failures.
- Save your changes.
Adding a Button to the Listings Page
Make the submission form easy to access by adding a button to your car listings page:
- Edit the car listings page with Elementor.
- Add a Button widget, center it, and label it Add Your Car Listing.
- Link the button to the URL of the submission form.
- Publish the changes.
Testing the Form
To ensure everything works as intended:
- Log in as an author or other permitted user.
- Go to the car listings page and click Add Car Listing.
- Fill out the form with details like:
- Title (e.g., Emerald Mirage)
- Description and Short Description
- Price and Sale Price
- Image
- Stock Quantity
- Submit the form.
Once submitted, the product will be added successfully and displayed on the listings page.
For more guides, tips, and updates, explore DynamiApps’ resources or subscribe to our YouTube channel. Happy creating!